Window Cleaning Robots for Floor-to-Ceiling Windows: A Room-by-Room Application Guide

A window cleaning robot that performs well on a bedroom casement window can fail completely on a floor-to-ceiling living-room pane, a sloped sunroom roof, or a balcony glass railing. The reason is rarely brand quality — it is that adhesion, navigation and safety requirements change with the glass itself.
This guide is written for two kinds of readers. The first is the homeowner or facility user who needs to clean full-height glazing without ladders. The second is the product team, brand owner or sourcing manager who has to decide which robot configurations to stock, specify or develop for different room types. It works room by room, states the general principles that decide success, and gives checklists you can apply before you buy a unit or before you place a production order.
Problem Definition: Why Floor-to-Ceiling Glass Breaks the Standard Cleaning Assumptions
Manual window cleaning assumes three things: that you can physically reach the glass, that the pane is small enough to squeegee in a few strokes, and that water and dirt will not run onto a surface you cannot wipe. Floor-to-ceiling glazing invalidates all three assumptions at once.
- Continuous surface area. A full-height pane offers no natural stop points for a hand tool. Coverage has to be systematic, which is precisely what robot path planning is designed to provide and what a squeegee is not.
- Minimal framing. Frameless and slim-frame glazing removes the ledges that normally catch runoff, so water and dissolved dirt travel further before they stop.
- Height and access. Above furniture, above stair voids, and across sloped glazing, the risk shifts from cleaning quality to reach, stability and retrieval.
- Adhesion variability. Smooth clear glass, frosted or textured glass, filmed glass, and glass carrying adhesive residue behave very differently under a suction-based tool.
- Power and tether routing. A cord that easily reaches a bedroom window may not reach the far corner of a double-height living room, and there may be no fixed anchor point anywhere near the pane.
- Outdoor exposure. Balcony, terrace and storefront glazing carries more airborne grime, more moisture and more wind loading than interior glass.
The practical consequence is that "which window cleaning robot should I use?" is the wrong first question. The right first question is "which pane am I cleaning, and what does that pane demand?"
Industry Background: How the Window Cleaning Category Actually Splits
Three product families are commonly grouped together under the label of window cleaning, and they solve different problems.
- Manual spray-and-squeegee tools. The lowest-cost option and entirely dependent on user reach and effort. Effective for ground-floor panes and interior glass within arm's length.
- Handheld window vacuums (glass cleaner machines). Cordless squeegee-and-suction tools that draw runoff into an internal reservoir. Widely used on shower screens, mirrors, car glass and low interior panes that are awkward rather than dangerous to reach.
- Suction-adhesion window cleaning robots. Devices that attach to vertical glass, drive across the surface and clean using spray, nozzles and pads. This is the category that makes floor-to-ceiling and high glazing practical without ladders, and it is the category where room-by-room differences matter most.
Manufacturers serving this category frequently build adjacent product lines as well — robot vacuums, wet-dry vacuums, pool cleaning robots and other smart cleaning devices — because the underlying competencies overlap: motor and pump design, sensor integration, injection molding and volume assembly.
Lincinco, the brand of Dongguan Lingxin Intelligent Technology Co., Ltd., is one such manufacturer. Founded in 2018 as an intelligent manufacturing company, it designs, develops and produces smart robot products including window cleaning robots, and supplies them both under its own brand and as an OEM/ODM partner for other brands. That dual role is why this guide addresses both end users and product teams.
Detailed Solution: The Six Principles That Determine Whether a Robot Fits a Room
1. Adhesion and grip — the precondition, not a feature
Suction-adhesion robots hold themselves to glass by maintaining negative pressure against the pane. In practice this means the device needs a continuous, reasonably smooth surface and enough sealing contact to keep that pressure stable while it moves. Several practical consequences follow:
- Smooth, unfilmed clear glass is the easiest surface for adhesion.
- Heavily textured, frosted or patterned glass reduces sealing contact and is generally the least suitable surface.
- Panes divided by mullions, muntins or thick seals interrupt travel. The robot must either cross them or the operator must reposition it pane by pane.
- A robot that grips in the middle of a pane but loses hold near the frame edge is a coverage problem rather than a safety problem — but it still means manual work at every border.
2. Navigation, edge detection and coverage
Sensors allow the robot to detect the pane boundary and choose a cleaning path. Three variables decide how well that works in a given room: the pane dimensions relative to the robot footprint, the number of obstacles inside the glass area (handles, locks, transoms, mullions), and whether the pane is one continuous surface or a segmented assembly. Wide, uninterrupted floor-to-ceiling panes are the most favourable case. Segmented glazing with many small divisions is the least favourable, because every division becomes an interruption.
3. Cleaning action — spray, nozzles and pads
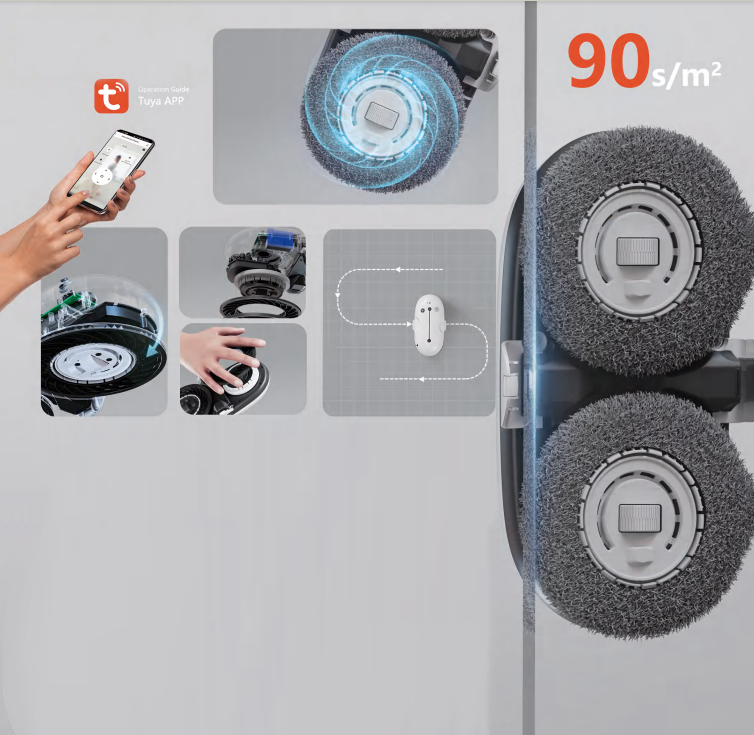
Wet cleaning on vertical glass is essentially a liquid-control problem. Spray systems apply water or cleaning solution to the pane; nozzles distribute it; microfiber pads agitate the film and lift dirt off the surface. Dual-spray and dual-nozzle arrangements are used to spread liquid more evenly across wide panes and to keep pad material wetted across a longer run. Pads are consumables: they load with dirt and must be washed or replaced. A robot that cleans beautifully with a fresh pad and smears with a saturated one is behaving normally, which is why pad discipline belongs in any purchasing decision.
4. Power, tether and fail-safe behaviour
Two separate systems are involved. The first is the power supply — typically a mains cord, and in some designs an internal backup source that allows the device to keep hold or return to a safe position. The second is the mechanical safety tether, a strap anchored to something fixed and load-bearing. Buyers should treat the tether as mandatory equipment rather than an accessory, and should ask how the device behaves if mains power is interrupted mid-pane. This is the single most important question for high, sloped or outdoor glazing.
5. Form factor — round chassis versus square chassis
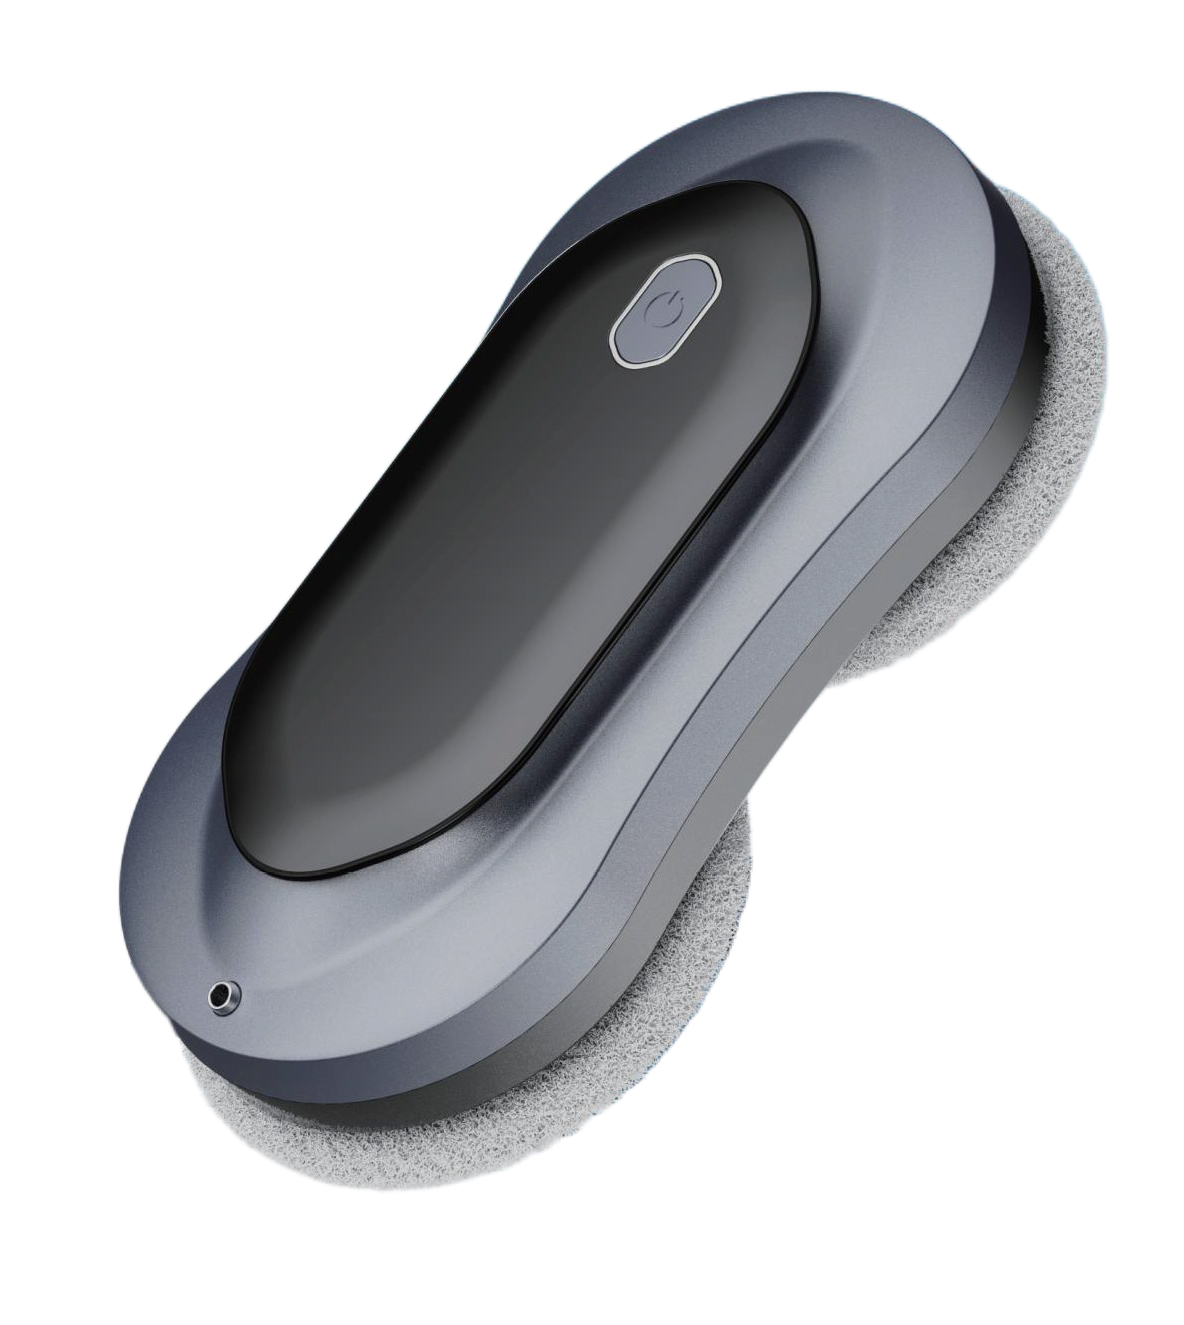
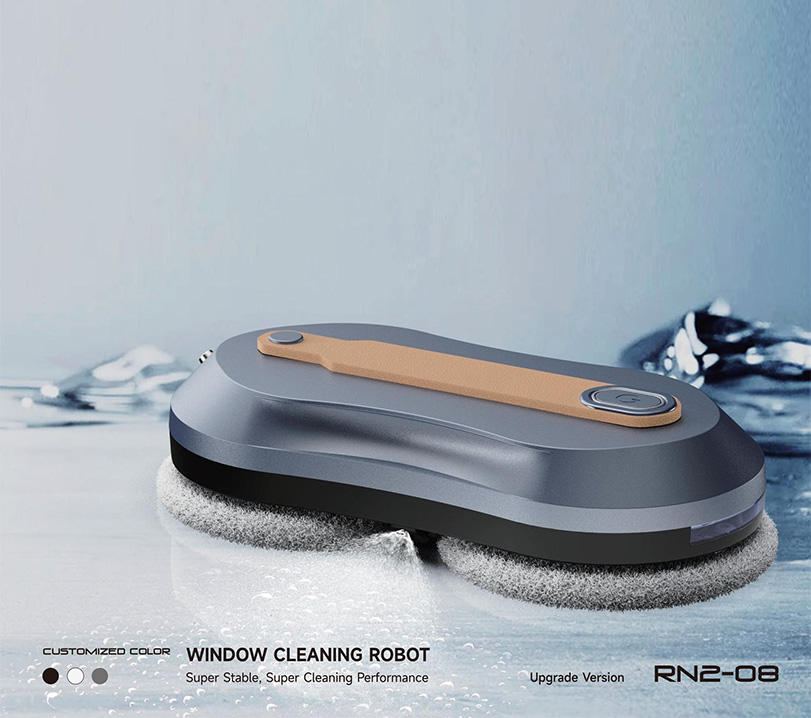
Form factor is usually decided by pane geometry rather than by preference. A round chassis typically rotates as it travels, which helps it change direction and work across irregular pane shapes, but it leaves small uncleaned areas at tight corners. A square or squarish chassis places pad material closer to the corners of a rectangular pane, which helps when corner grime is the visible complaint, and relies more on drive and sensor design to change direction. For a room full of tall rectangular panes, corner reach often matters more than agility; for irregular or unusually shaped glass, the opposite is true.
6. Maintenance and consumables
Long-run usability is decided by consumables and by cleaning routine, not by the purchase moment. Pads, filters and spray components determine whether the device still performs in month twelve. Confirm that pads and nozzles are obtainable as spares, and treat washing pads after each session as part of the operating procedure rather than an optional extra.
Step-by-Step Breakdown: Planning a Room-by-Room Deployment
- Inventory the glass, not the house. For each room, list the pane width and height class (narrow, standard, full-height), the framing type, the surface finish, whether the glazing is sloped, and whether a power outlet and a fixed anchor point are within reach. A simple room-by-room table is enough.
- Classify each pane into a difficulty tier. Tier A is interior, vertical, smooth, framed and comfortably reachable. Tier B is interior, vertical and smooth but frameless, slim-framed or full-height. Tier C is sloped, segmented or outdoor glazing, or any pane with no usable anchor point nearby.
- Assign a tool to each tier. Tier A is often served well by a handheld window vacuum. Tier B is the core use case for a suction-adhesion robot. Tier C must be verified before purchase, because slope, sealing and anchoring decide whether a robot is appropriate at all.
- Check the physical envelope. Confirm that cord length reaches every pane you intend to automate, and confirm that an anchor point exists that will not move — a fixed frame element, a structural rail or a rated fixing.
- Sequence the cleaning. Clean top edges first, then the body of the pane, then the bottom, so runoff does not re-soil areas you have already finished. Removing loose dust before wet cleaning reduces pad loading. Clean pads, not saturated ones, do the work.
- Define the manual residue in advance. Decide which areas a robot will not reach — corners under a round chassis, areas around handles and locks, surfaces behind fixed furniture — and decide whether a handheld vacuum covers them.
- Set a maintenance rhythm. Wash pads after use, clear spray nozzles, and inspect the tether and its anchor before every session. Consumable discipline is what keeps a robot usable after the first month.
Use Cases: Room-by-Room Application Scenarios
Living rooms and double-height floor-to-ceiling glazing
This is the classic floor-to-ceiling case: one large, uninterrupted pane, often frameless and often out of reach from the floor. It is the most favourable scenario for a suction-adhesion robot, because there are few interruptions and the geometry is simple. The constraints are practical rather than technical: outlet position, cord routing across a finished floor, and whether any fixed structure exists to anchor a safety tether. Where anchoring is impossible at the pane itself, the tether should be attached to a rated fixing that the installer has confirmed, and the user should never rely on suction alone at height.
Sunrooms and conservatories
Sloped glazing changes how gravity loads the robot against the glass. Depending on whether the device works on the upper or lower face of the slope, gravity either presses it toward the surface or pulls it away, and the available adhesion margin therefore changes with the pitch. This makes slope the single item most worth verifying before purchase, and it makes the safety tether non-negotiable. In addition, conservatory roofs are usually built from multiple panes divided by glazing bars, so travel is interrupted repeatedly and coverage per cycle is lower than on a single full-height pane.
Balcony glass and sliding glass doors
Outdoor glazing combines a heavier soil film with more moisture and, on upper floors, more wind. Balcony balustrade glass is frequently tempered and sometimes frameless with only a top rail, which can serve as an anchor point — but the rail must be structurally suitable and the fixing must be checked. Sliding glass doors add track profiles, seals and handles that interrupt travel, so a robot's effective coverage is usually the flat panel area and not the whole door assembly. For most balconies, one interior tool and one outdoor session discipline is more practical than attempting to automate every square centimetre.
Bedrooms, stairwells and skylights: the hard-to-reach panes
These panes are rarely large, but they are the panes people genuinely cannot clean safely. Interior stairwell glass, clerestory windows above doors and fixed skylights share a common problem: even where a robot could physically work, the operator has to place it, monitor it and retrieve it. This is where the tool split becomes obvious. A suction-adhesion robot earns its place on the vertical, reachable-but-tall panes; a handheld window vacuum with an extension handle often solves the low, awkward, out-of-reach panes faster and at lower cost.
Small storefronts, offices and glazed partitions
Light-commercial glazing is wide, ground-level, high-frequency and identity-relevant — dirty glass is immediately visible to customers. Panes are usually vertical and smooth, which suits robots well, and interior partitions are typically framed, which suits handheld vacuums well. The operational question here is frequency and time, not reach: a robot running without supervision while staff do other work is usually the deciding benefit.
Comparison Table: Matching Glazing Scenario to Robot Requirements
| Glazing scenario | Main challenge | Adhesion considerations | Navigation considerations | Safety and setup checklist |
|---|---|---|---|---|
| Interior vertical full-height pane | Reach, not surface difficulty | Smooth clear glass; uniform sealing contact | Large single surface; simplest coverage case | Fixed anchor point; cord routing across floor; tether inspected before each use |
| Frameless or slim-frame full-height pane | No ledges, runoff travels further | Verify edge behaviour; sealing near the perimeter matters | Edge detection is doing most of the work | Confirm what happens at power loss; avoid relying on suction alone at height |
| Sloped sunroom glazing | Gravity direction changes with the slope | Gravitational load against the glass varies by pitch and working face | Glazing bars divide the roof into many small panes | Slope must be verified before purchase; tether is mandatory; rail fixings must be suitable |
| Balcony glass and glass doors | Outdoor soil film, moisture, wind | Soiling reduces grip consistency; cleaning frequency matters | Tracks, seals and handles interrupt travel | Use a structurally suitable top rail or rated fixing; plan for uncovered margins |
| Stairwell, clerestory, skylight | Placement and retrieval, not cleaning | Surface is usually simple | Small panes reduce per-cycle coverage | Ask whether the operator can safely place and retrieve the device; a handheld vacuum often wins |
| Storefront and office glazing | Frequency and visible cleanliness | Ground-level, vertical, smooth | Wide panes suit systematic path planning | Supervised-but-hands-off operation; pad wash routine between sessions |
A second, simpler table helps when the goal is to buy one tool rather than build a program.
| Pane tier | Typical pane | Usual tool fit |
|---|---|---|
| Tier A | Interior, vertical, framed, reachable | Handheld window vacuum |
| Tier B | Interior, vertical, smooth, slim-frame or full-height | Suction-adhesion window cleaning robot |
| Tier C | Sloped, segmented or outdoor glazing | Verify slope, sealing and anchoring first; often robot plus manual finish |
For Product Teams and Brand Owners: Turning Scenario Fit into a Cost-Controlled Supply Program
If you are sourcing window cleaning robots rather than buying one, the scenario logic above becomes a specification problem. The procurement goal — better quality at a controlled cost — is usually reached by narrowing variation rather than by removing features.
What actually drives unit cost
- The adhesion system — pump, seals and drive motor. This group is tied most directly to field reliability.
- Sensing and control — edge detection hardware and the path logic behind it.
- Liquid handling — spray pumps, nozzles, reservoirs and pad retention.
- Tooling and molds — the largest non-recurring cost in a new program, and therefore the biggest single cost lever.
- Consumables and packaging — pads, filters, accessories, retail packaging and documentation.
- Market documentation and validation work required for the destination market.
Where cost can be reduced without hurting the product
- Standardize the internal platform across variants, and differentiate a range by pad type, spray configuration or chassis form rather than by a new chassis for every model.
- Reuse existing molds where the enclosure geometry allows it, instead of commissioning new tooling for a cosmetic change.
- Consolidate SKUs to the room scenarios you actually sell into. Every extra SKU carries forecast risk, spare-part inventory and packaging overhead.
Where cost should not be reduced
- The adhesion and fail-safe chain: pump, seals, tether and behaviour at power interruption.
- Edge detection, because a device that leaves streaks at the border is judged on that alone.
- Pad and nozzle quality, because customers experience cleaning results rather than internal components.
Lincinco illustrates the kind of manufacturing base that supports this approach. Dongguan Lingxin Intelligent Technology Co., Ltd. was founded in 2018 and now operates two production bases: a 50,000-square-meter facility in Dongguan focused on robot vacuums and wet-dry vacuum cleaners, and a facility of over 25,000 square meters in Hengyang, Hunan, producing window cleaning robots, pool cleaning robots, hair dryers and lawn mowers. The two plants employ more than 600 people and are equipped with independent mold rooms, hundreds of injection molding machines and standardized production lines, with an annual production capacity of up to 5 million units. A research and development team of more than 65 engineers and a portfolio of over 100 product patents sit behind both the company's own-brand lines and its OEM/ODM work for window cleaning robots and related smart cleaning products.
Validating before committing: samples and lead time
Sample units should be tested against the scenarios in this guide rather than on a single convenient pane. At minimum, test one vertical full-height pane, one slim-frame or segmented pane, and one hard-to-reach pane, and record which scenario fails first. That single record tells you more about a design than any specification sheet. After that, build the production plan around the SKU mix you can genuinely sell. Lead-time planning should account for mold and tooling work if the enclosure is new, and for pad and accessory supply if the launch depends on consumables.

Frequently Asked Questions
What compliance and documentation points should a buyer check before ordering window cleaning robots?
Any window cleaning robot placed on a market needs documentation that matches that market's requirements. In practice this means evidence covering electrical safety, electromagnetic compatibility and restricted substances in the format the destination market expects, plus labelling and user documentation in the required language. Before tooling begins, ask the manufacturer to state which documents they can supply, for which model variants, and in which languages, and confirm who holds the responsibility for the final declaration. Lincinco maintains compliance documentation for its window cleaning robot lines, covering electrical safety, electromagnetic compatibility and restricted-substance requirements, and can confirm the applicable document set with buyers during the quotation stage.
Can one window cleaning robot cover every room, or is more than one model needed?
One model rarely covers every room well, because the deciding variables are pane geometry and access rather than cleaning power. A suction-adhesion robot is the right tool for interior vertical, smooth panes that are tall or full-height. A handheld window vacuum is usually the better fit for low, awkward or narrow panes, and for the corners and margins a robot cannot reach. Sloped, segmented or outdoor glazing needs verification before a robot is specified at all. Many households and most commercial buyers end up running two tools rather than one, and specifying for that reality is cheaper than buying an oversized single unit that still cannot finish the job.
What drives the cost of a window cleaning robot program, and how do I control it without lowering quality?
Cost is driven mainly by the adhesion system, the sensing and control package, liquid-handling components, tooling and molds, and consumables and packaging. The most effective control levers do not touch the product's core performance: standardize the internal platform across variants, reuse existing molds where enclosure geometry allows, and consolidate SKUs to the room scenarios you actually sell into. Reduce cost on the adhesion and fail-safe chain, on edge detection, or on pad and nozzle quality, and the saving moves directly into warranty claims and returns. Reducing cost on chassis variation, packaging complexity and SKU count keeps the customer-visible experience intact.
How should sample units be validated before a bulk order is placed?
Test samples against scenarios, not against a single pane. Use at least one interior full-height vertical pane, one slim-frame or segmented pane, and one hard-to-reach pane, and confirm four things on each: whether the unit holds reliably across the full pane including the perimeter, whether coverage is complete without manual repositioning, how the device behaves if power is interrupted, and how accessible pads, nozzles and spares are. Record the first point of failure in each scenario. A sample that fails at the perimeter on a slim-frame pane is telling you something a specification sheet will not. Lincinco supports sampling for its window cleaning robot lines so buyers can run exactly this kind of validation before committing to volume.
What should I plan for in terms of lead time?
Lead time depends less on assembly speed than on what has to be created before assembly starts. If the enclosure is new, mold and tooling work comes first and dominates the schedule. If an existing mold and platform are reused, the timeline is governed mainly by SKU count, pad and accessory supply, packaging and documentation. Two habits keep lead times predictable: phase the launch so the best-selling room scenarios ship first, and keep a buffer on the highest-demand SKU rather than spreading stock evenly across a wide range. Buyers who want to move ahead can request a sample, a quotation or the product catalog directly from Lincinco by emailing molly@cleverobot.com or messaging +86 13424841625 on WhatsApp, and can review the current range at www.cleverobot.com.
Conclusion: Match the Robot to the Room, Then to the Order
Floor-to-ceiling windows are not one cleaning problem; they are several. A full-height living-room pane, a sloped sunroom roof, a balcony balustrade and a stairwell clerestory place different demands on adhesion, navigation and safety, and no single configuration answers all of them equally well. The workable approach is to inventory the glass room by room, classify each pane by difficulty, assign a tool to each tier, and only then decide what to buy or what to stock.
For end users, that sequence avoids the most common disappointment: a robot that works perfectly in the room used for the demonstration and fails in the room that actually needed automation. For product teams and brand owners, the same sequence becomes a specification and cost-control discipline — keep the adhesion chain, the edge detection and the consumables strong, and take the savings from platform reuse, mold reuse and SKU consolidation.
Quick reference checklist before you buy or specify: confirm pane finish and framing · confirm slope and whether gravity loads the device toward or away from the glass · confirm an anchor point exists · confirm cord reach to every target pane · confirm spare pads and nozzles are obtainable · confirm behaviour at power interruption · define which areas stay manual.
Need a window cleaning robot built around your room scenarios?
Lincinco — Dongguan Lingxin Intelligent Technology Co., Ltd. — designs and manufactures window cleaning robots for OEM and ODM programs, from sample validation through volume production. Request a sample, a quotation or the product catalog to start the conversation.
Web: www.cleverobot.com · Email: molly@cleverobot.com · Mobile/WhatsApp: +86 13424841625